I returned to film about a year and a half ago. Over this time I learned how bad some lab scans can be. At the same time I've had to climb the steep learning curve that is scanning color negative film. I hope this tutorial can help you achieve better results quicker.
I do not develop my own color film. I send it off to a local lab: United Color Film and they do a great job. They charge 20 AED (5.50 USD per roll of 135, 120, or 220). 135 scans are 20 AED, but 120 and 220 scans are 5 AED plus 2 AED per picture. Also the film has to be sent to Dubai, so a 1 hour turnaround turns into a week-long turnaround. I have them cut each roll by 4 frames and sleeve it. This is how I receive it. (Using an all white background in MS Paint for my backlight).

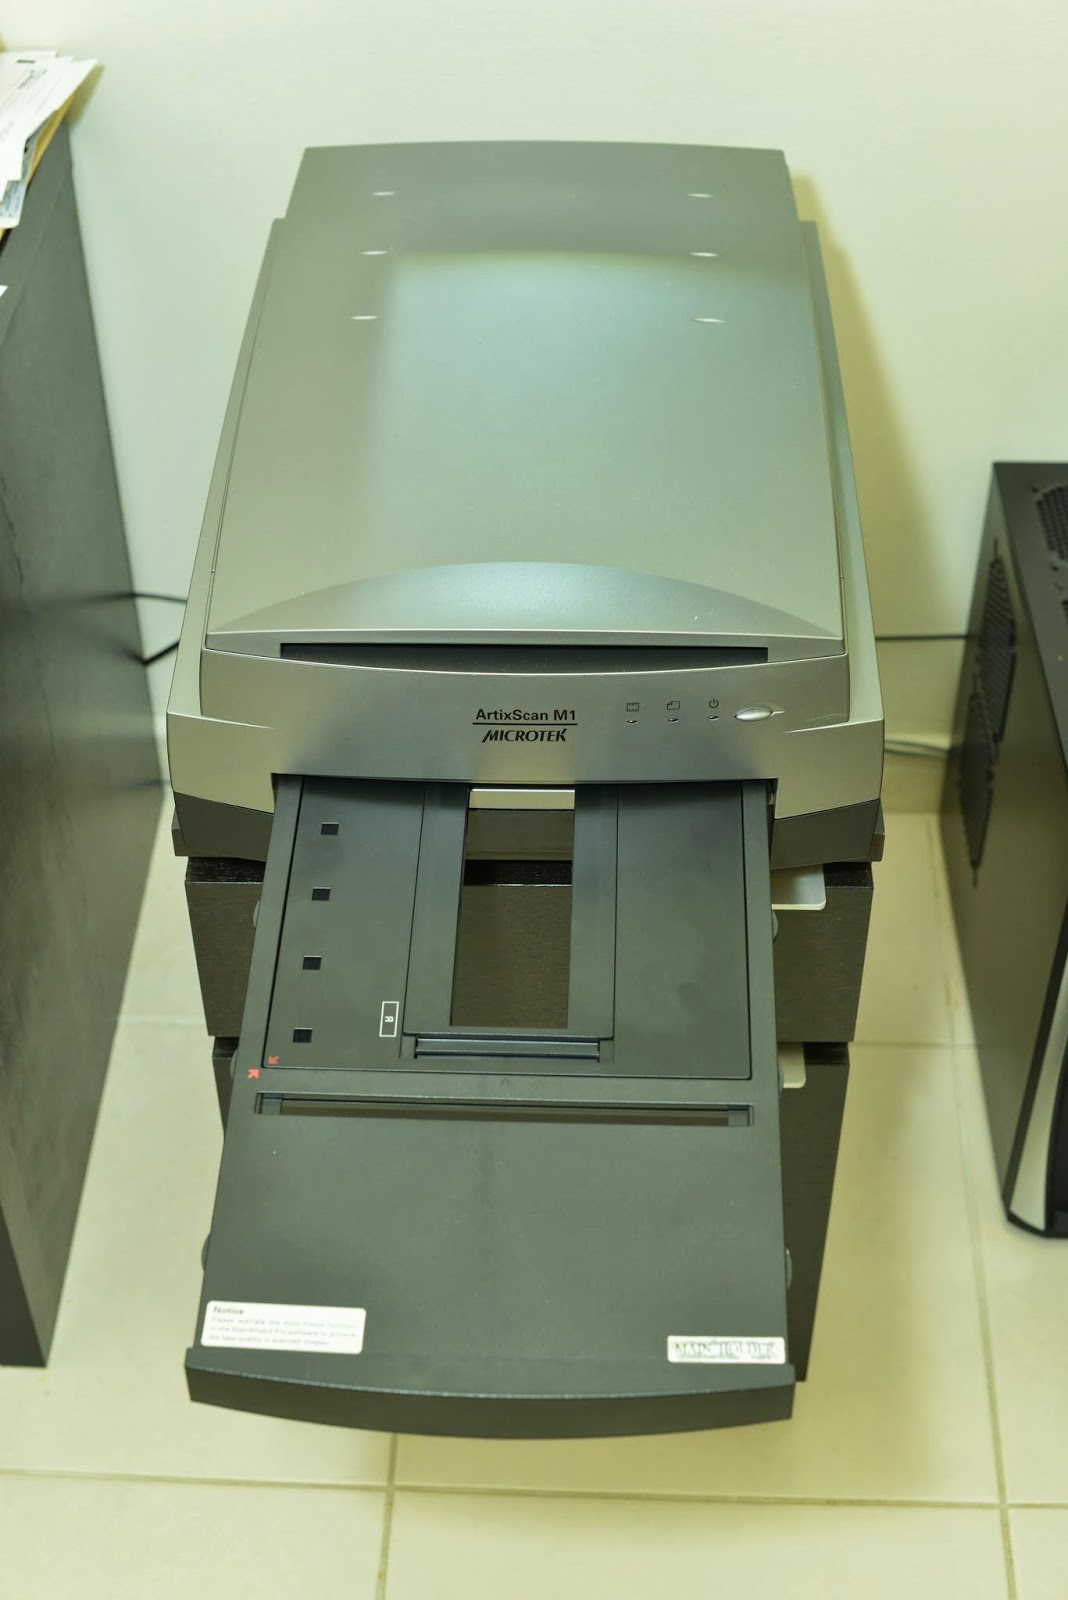
Here is my scanner. The Microtek Artixscan M1. I bought it used for 200 AED (~55 USD). It has a tray for scanning film glassless.

The holder has a gripper that will pull the film tight and flat. If the film is curled, it will struggle. If the film is flat, it works great. At this point I ensure there is no dust on the film with a blower (sometimes a brush for stubburn dust) before loading the carrier into the tray and inside the scanner.


I do not develop my own color film. I send it off to a local lab: United Color Film and they do a great job. They charge 20 AED (5.50 USD per roll of 135, 120, or 220). 135 scans are 20 AED, but 120 and 220 scans are 5 AED plus 2 AED per picture. Also the film has to be sent to Dubai, so a 1 hour turnaround turns into a week-long turnaround. I have them cut each roll by 4 frames and sleeve it. This is how I receive it. (Using an all white background in MS Paint for my backlight).

Here is my scanner. The Microtek Artixscan M1. I bought it used for 200 AED (~55 USD). It has a tray for scanning film glassless.

When I purchased the scanner, the bundled software was not 64 bit compatible. I went online and downloaded the latest version from Microtek's website.
I have tried both Silverfast and VueScan. I could not get VueScan to work at all, and Silverfast was more complicated than the Microtek software. This was the result I got using the Portra 160VC setting in SilverFast.
After hitting the Overview button you get a low res scan like this.

First you must frame the image. I have all my frames with the settings saved. The small ones line up with the 135 holder. I then have 645 and 67 color and B&W frames saved. It keeps the output file dimensions and settings consistent.
I grab my color negative 645 frame and allign it with the first frame.

Then set the focus point.

Once that is done, you can adjust the dynamic range of each color. I set it to 0.2 outside of the highlights and shadows. The Overview does not capture the entire dynamic range of the image, and if you get too close, it will clip the highlights and shadows.


All other auto corrections are turned off. I find this gives me a somewhat color corrected negative. I save the dynamic range settings and apply it to every image from that roll. This way once I color correct one frame in LR4, I can sync the settings to every image from that roll because the scan settings were the same.
I set the framing and focus point for each of the four images and then Batch scan them. About 15 minutes later, I have the 4 images output as uncompressed 48bit tiff files. The closest I can figure to Analog RAW files.
I repeat this for all the frames from that roll of film, and then I move to LR4.
Setting the dynamic range of each color channel manually has resulted in a RAW file that is still somewhat color accurate. The white balance does not need to be corrected with the curves tool (which would be the case if it was scanned with all color channels set to full). Having to use curves right off the bat with color film overly complicates the postprocessing big time in my opinion.
I first correct the white balance. In this case I used the dropper tool on her white pants.
The picture is still a little flat, so I adjust the contrast using the RGB Tone Curve Tool (13.7/7.1% & 69.4/78%)
Then I sharpen the image. This is one of the biggest benefits of home scanning. You can avoid sharpening the bokeh (hold down ALT when you use the mask slider to ensure the blur is not sharpened). So many lab scans are oversharpened. Ektar 100, Portra 160, & Portra 400 should have zero grain in medium format, but often times people mistake oversharpening of bokeh for grain.
And that is it. I have found that this is the easiest way to get excellent quality scans at home while remaining true to the film stock i.e. no adjustment to saturation, color curves, split toning, etc. only some contrast and sharpening adjustments made in a smart way, not by the Auto settings.
I then crop out the film borders.
Here is the before and after.
I then synchronize the developer settings across the entire roll.
More Examples from the same roll of expired Portra 160VC (exp 2003 shot at 100) This leaves you with a picture that is 90% of the way there.
You can then adjust the contrast and saturation to taste, and clone out dust spots on the individual images. I find it much easier to add contrast and saturation, than remove it.
This is the one I finally went with. (increased contrast, hue shift greens to yellow)
Let me know what you think. I hope you enjoyed it and found it informative.
No comments:
Post a Comment